How to tie-dye synthetic clothing
To climb hard you must look good, and I noticed myself avoiding certain clothing because my tastes had changed over time. I maintain a small closet because my trauma tells me to optimise for packing and leaving wherever I am on a few hours’ notice, so it’s bad if objects are not pulling their weight. I prefer to wear my clothing into tatters (rather than “donate”/sent to a landfill in Africa), a future more likely to converge if they were brought up speed with my current palette. With the leftover synthetic dyes from my keycap dying project, I thought I’d give it a go.
The tldr of any plastic dying project is, don’t do it! It’s time-consuming and messy. (In contrast, dying organic material is relatively straightforward, which is why tye-die clothing is traditionally cotton). Even though I was successful, I would anti-recommend this project to anyone. In any case, here’s my field notes.
Reference video
: I watched this video to gain a baseline sense of the task. In my post I include additional details gathered during my own process. (Also I am too cheap to sacrifice my nice cookware like that LOL)>Dying a polyester sun shirt
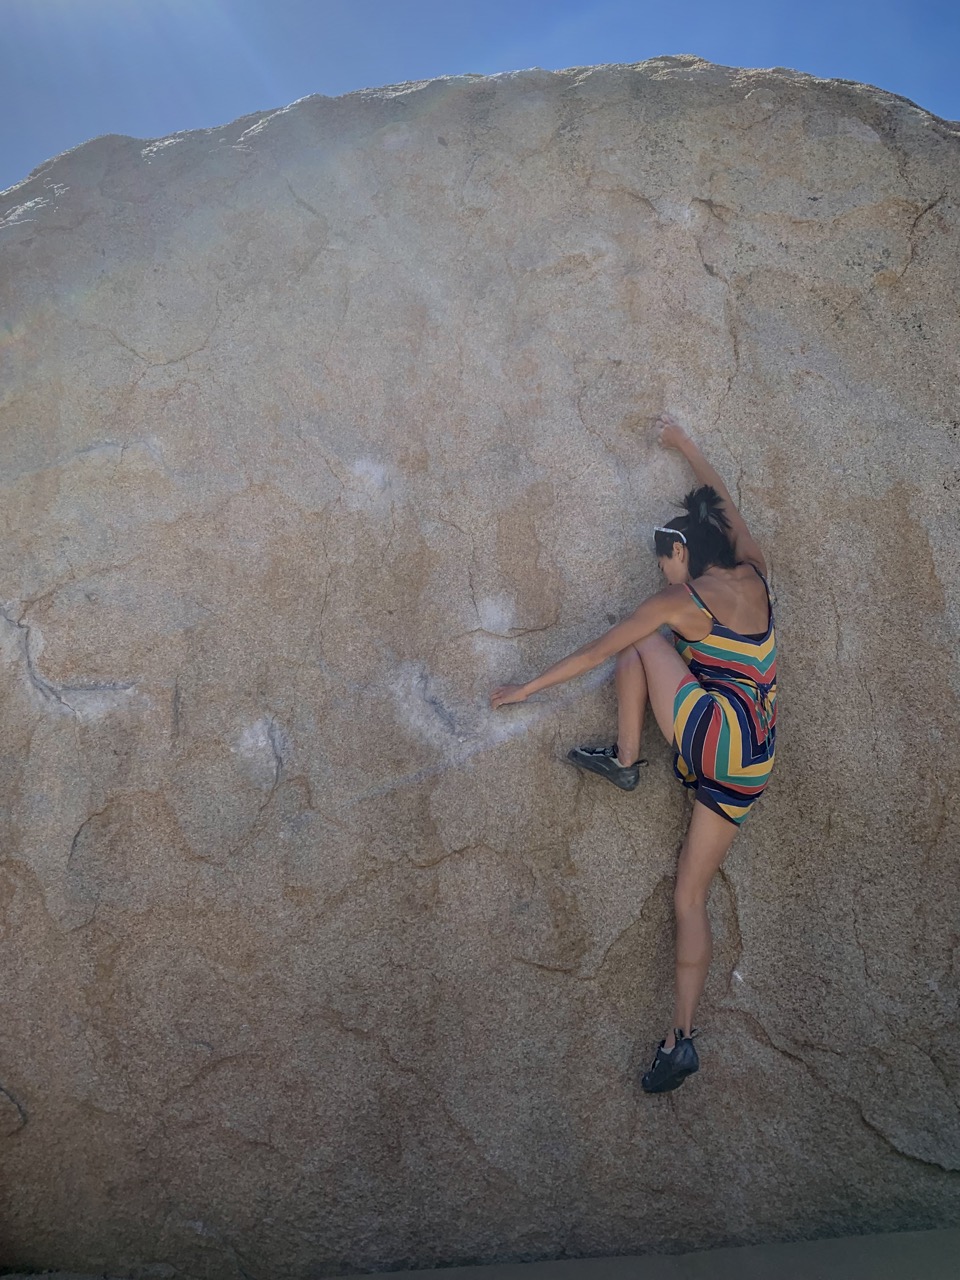
The patient is a minty pastel Patagonia sun shirt. I like how soft the material is, and it’s thicker than my running sun shirts and thus durable enough for my bad-technique trad climbing flails. But over time I wanted to appear less cake-like and more moss-like. So the goal was to make the shirt more green, but not too much darker (or it’ll get hotter in the sun).
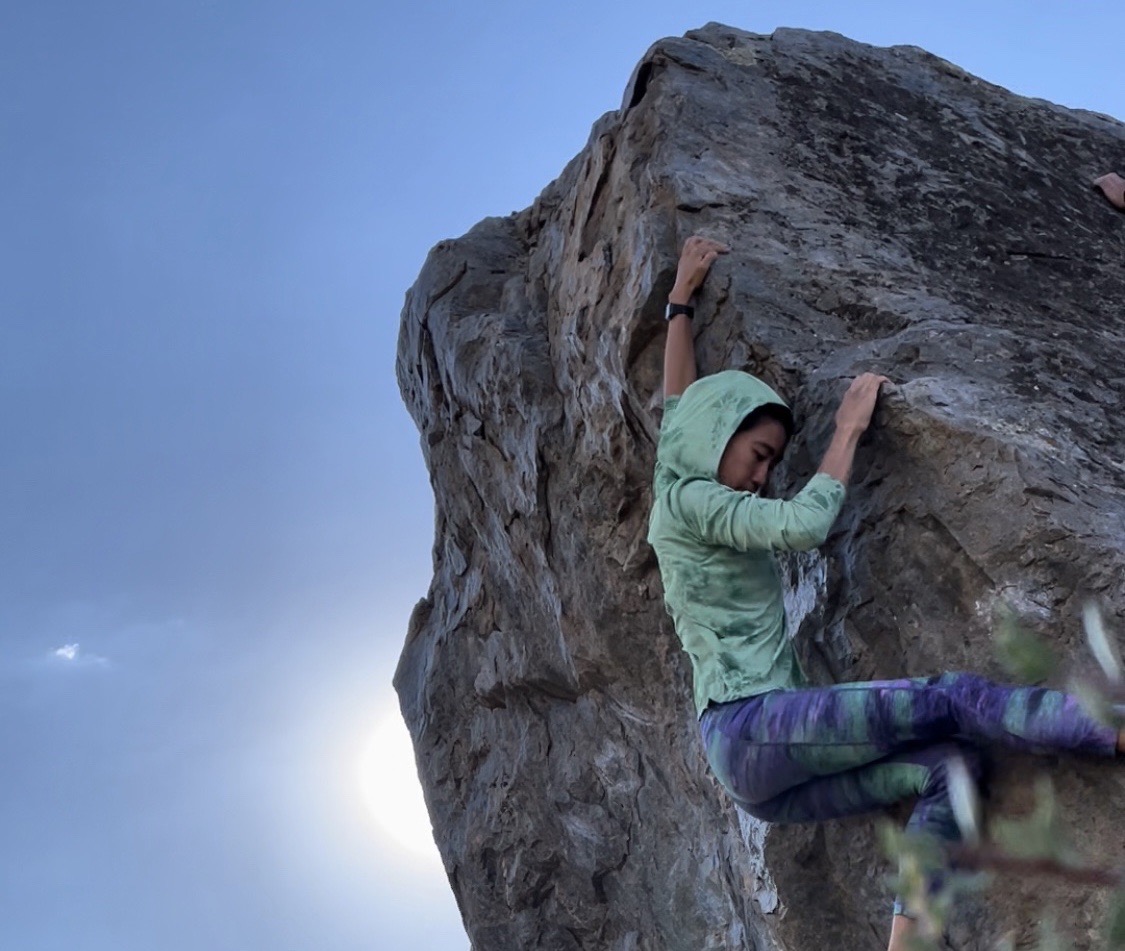

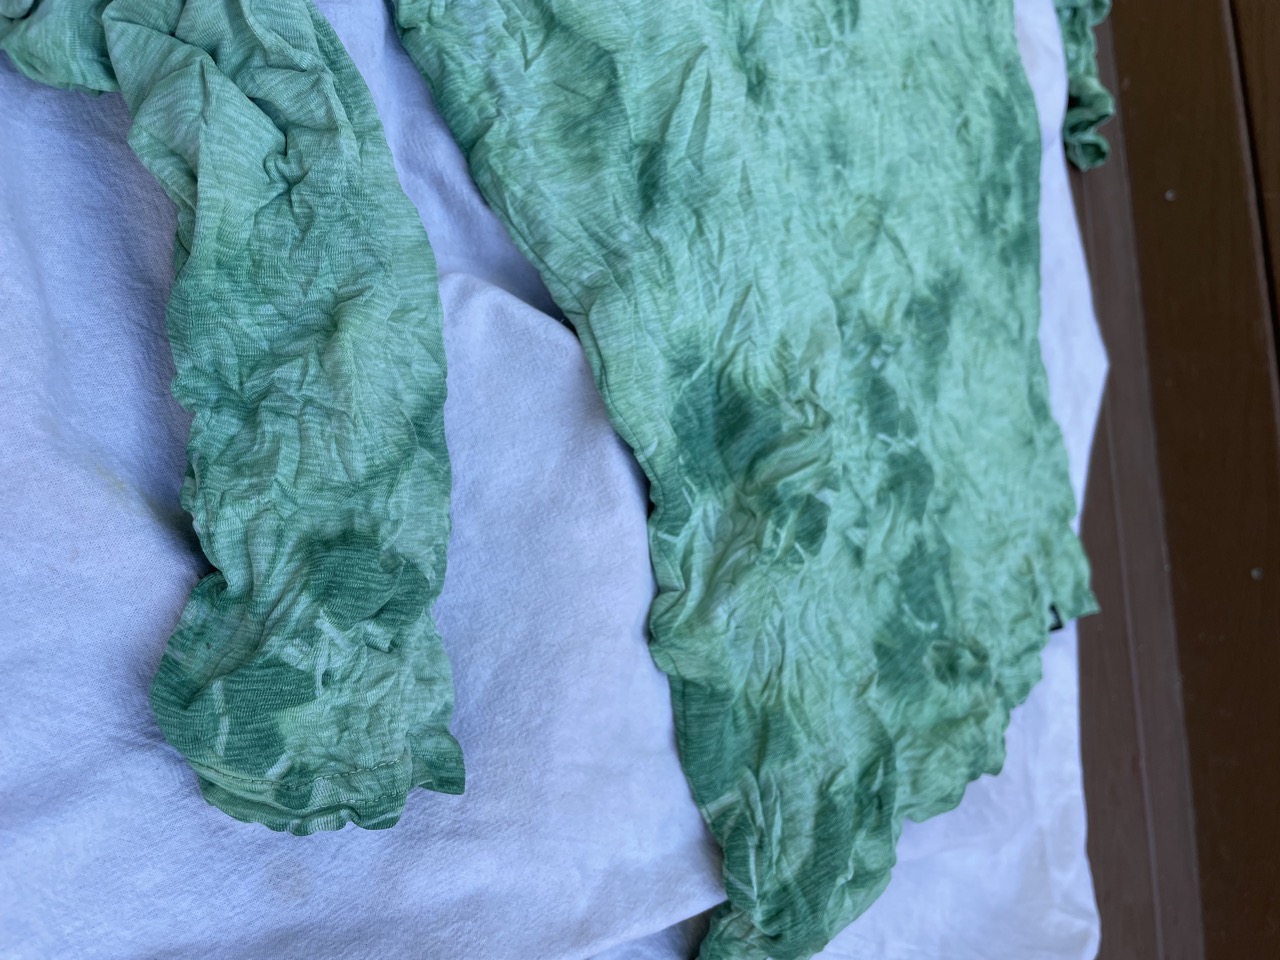
It may not be easy to tell from these low-fi climbing video stills, but I love how the colour turned out. It led to 300% more wearing of this shirt and 400% more compliments (including delightful bewilderment at the rouge-patterned Patagonia item). The dying step turned out to be a breeze compared to the unwrinkling step, which was extremely manual and somewhat finicky.
>The polyester process
On a warm summer day because I wanted to keep the fumes outside :D
- Prepare the shirt: wet it, then pinched off parts of the shirt and rubber banded them off.
- This is a standard tie-dye technique called “crumple dye”, nothing special here. You can look up normal tie-dye videos for reference.
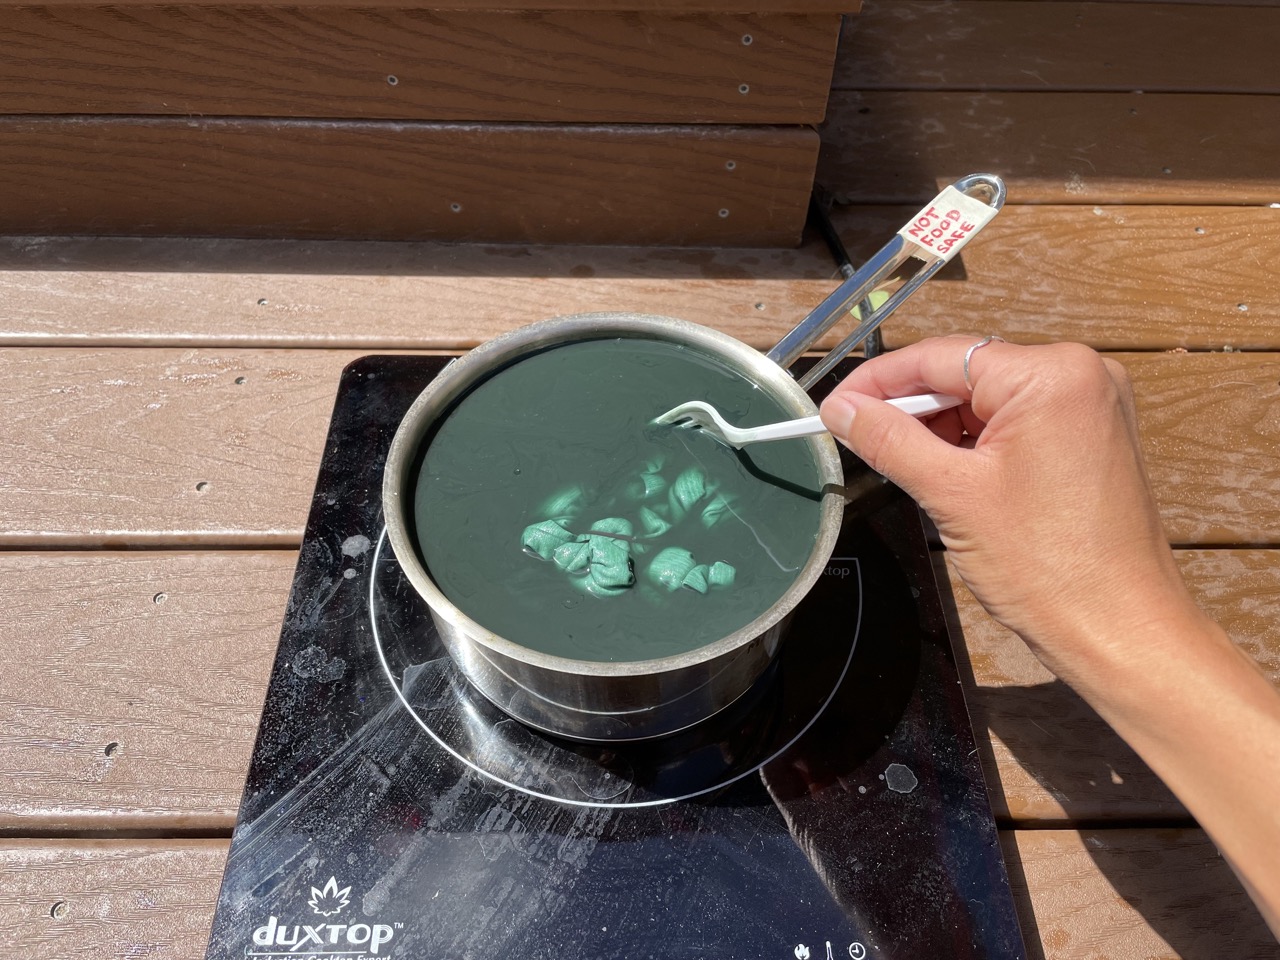
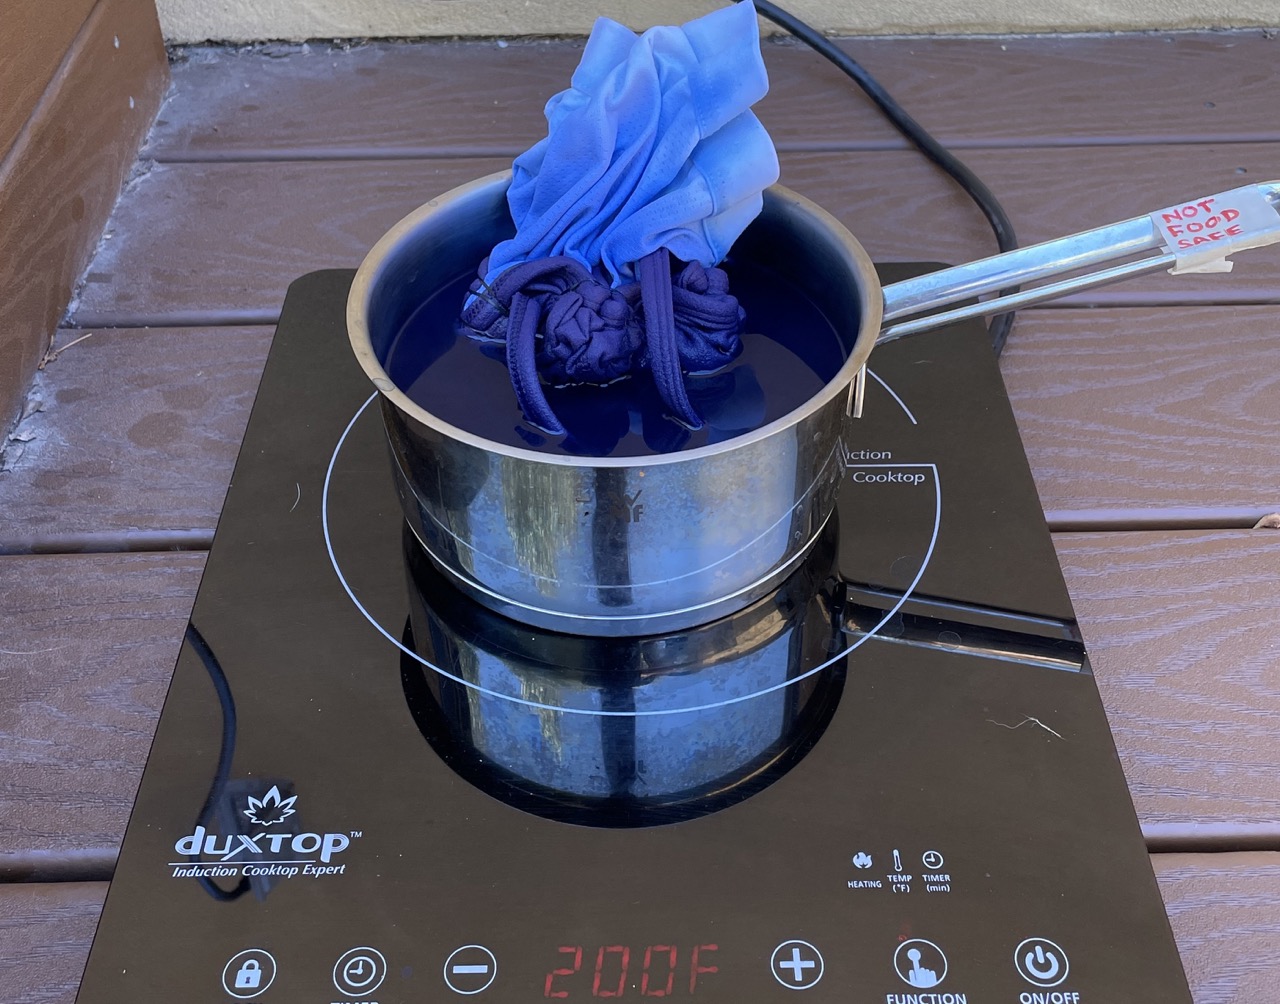
- Prepare the dye: Heat up filtered water in a sacrificial pot until it is about to boil, add dye
- The dye must be specifically for synthetic fabric. Normal tie-dye will not work. I used iDye Poly, it worked great. You can mix the colours to adjust to taste (only taste with your eyes). Note that the dye bath will always look darker than the result.
- I didn’t want the result to be too dark, so I used not much dye. Maybe a teaspoon of powder for a small pot.
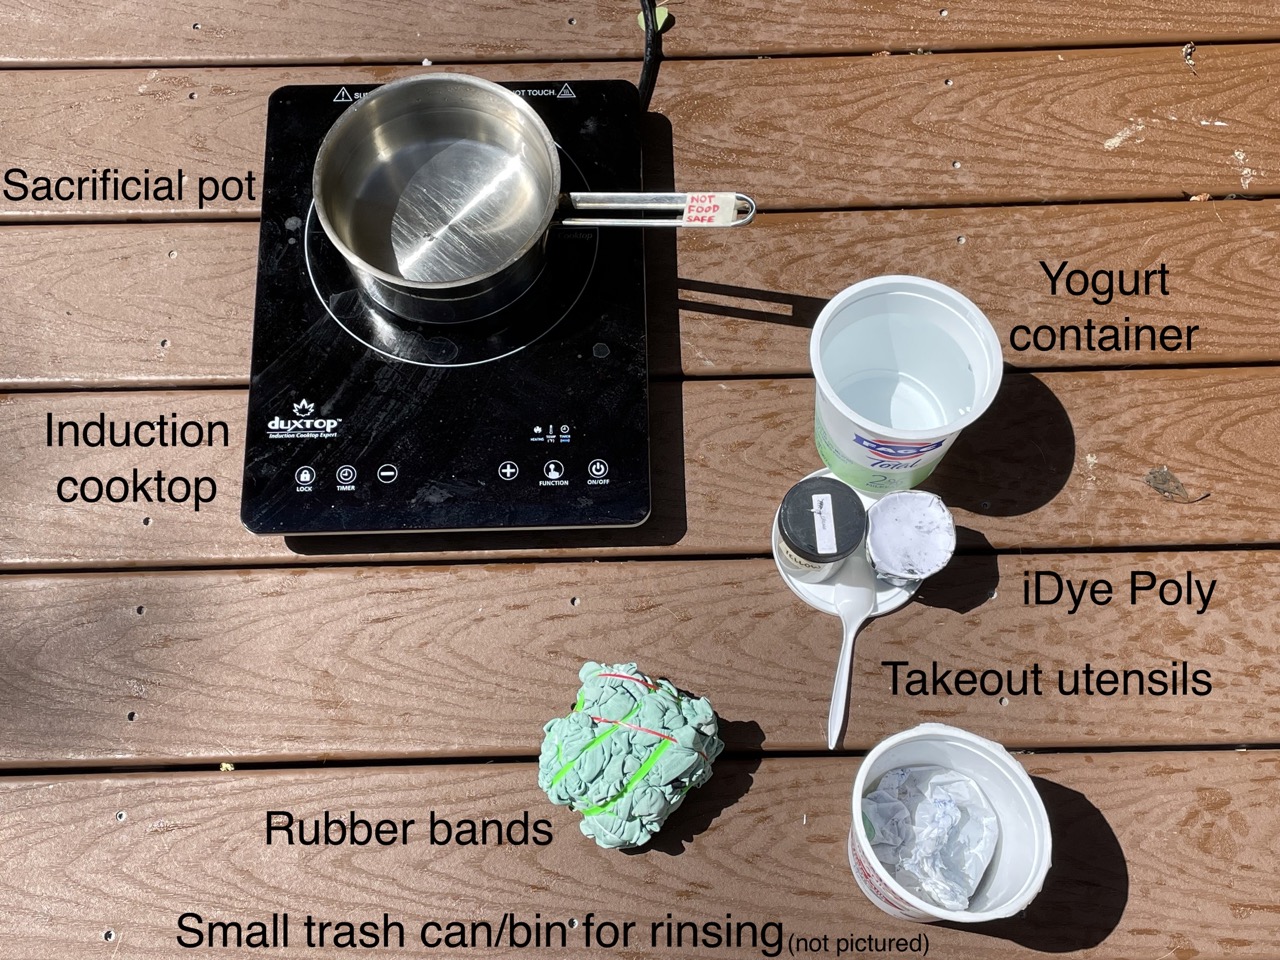
- Anything that touches the dye will be rendered un-food-safe! I used a pot from a thrift store and plastic takeout utensils to stir.
- I made a setup outside with a hot plate and extension cord because the dye fumes are supposedly not great to breathe in (my kitchen doesn’t have a real fume hood, although I don’t know if I’d trust it even if I did).
- Boil: Set the temp to be slightly below simmering, about 200f, and plopped the shirt in for about an hour, flipping it occasionally so the dye had a chance with both sides.
- A concern with synthetic clothes is the low melting point (that’s why the synthetic setting on your iron is super weak, compared to cotton mode. That’s also why fire spinners never wear synthetics). The shirt was floating so I wasn’t worried about it touching the bottom and getting melty, but it’s something to watch out for.
- If your clothes sink, I imagine you can put a cotton rag between the bottom of the pot and the synthetic item as a buffer.
- I hung out within eyesight to supervise in case of disaster (didn’t want it to splash or melt)
- I live at 8000ft, where water boils at 198f. So it was actually slightly below the recommendation.
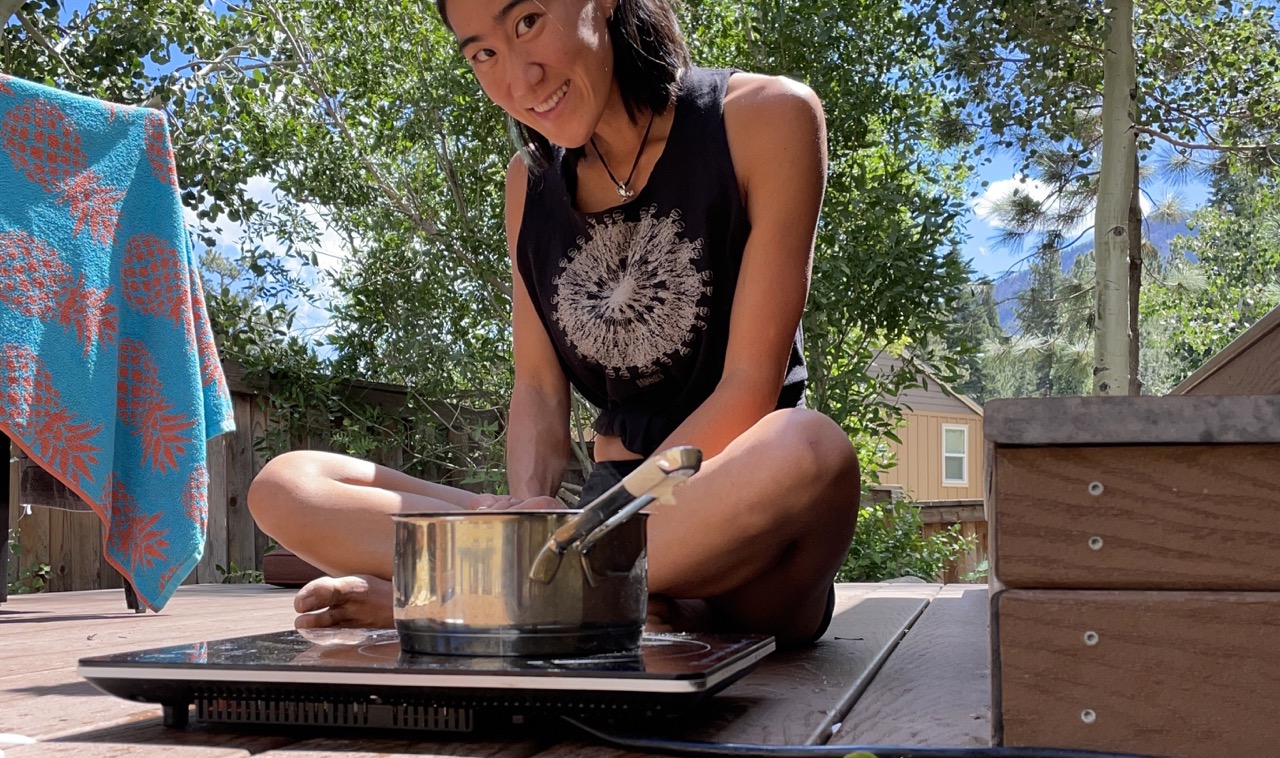
Watching a pot boil at 8000ft on a pleasant summer day, as one does.
- Rinse: Filled a small trash can (or other food-unsafe bucket) with fresh water. (With plastic gloves on) removed shirt and try to squeeze as much dye water out as possible (it’s difficult because it is hot), then transferred shirt into fresh water. Rinse rinse rinse.
- I poured this water into my bathtub drain (making sure it was cool, so it didn’t dye the bathtub LOL). I think you’re not supposed to just toss this water into the yard or your street because it’ll leach into the environment.
- Maybe too paranoid, but I avoided rinsing in my kitchen sink because I didn’t want the hot food-unsafe dye to touch my food prep zone.
- Rinsed a couple of rounds, taking off the rubber bands after the first rinse to get at all the creases.
- Air dried shirt flat (in direct sun for greater speed)
- The colour result: The tie-dye look is on the sparse side, I went overboard during the rubber band step and it was too tight to allow much dye penetration. (the video I linked had a similar result with the dress). However, this is great for not letting the shirt get too dark. I could have rubber banded again and gone for round two.
- At this point the shirt is SUPER wrinkly and not wearable! It seems like the dye temps was high enough to set the wrinkle shape into the polyester fabric.
- (I actually don’t know if all polyester would wrinkle like this, of if it’s just this specific shirt.)
Very wrinkly D:
- Unwrinkle the shirt:
- I ironed the shirt one side at a time by putting a small wooden board into the body of the shirt, stretching the shirt so it’s flat and not wrinkly, putting a damp cotton fabric down (so the iron never directly touches polyester), and then applying the iron firmly but slowly a few swipes across the area
- don’t stretch the shirt TOO much because it’ll result in your shirt to be a bigger size than it started. Just enough so it’s not wrinkly.
- Experiment with ironing temp, starting lower and increasing if you find the wrinkles aren’t being pressed out.
- The tricky part is the iron has to be hot enough to unset the wrinkles, but not too hot as to melt the polyester and create scratchy stiff areas (I’ve ruined leggings this way!)
All done! Great results, I’m super happy with it.
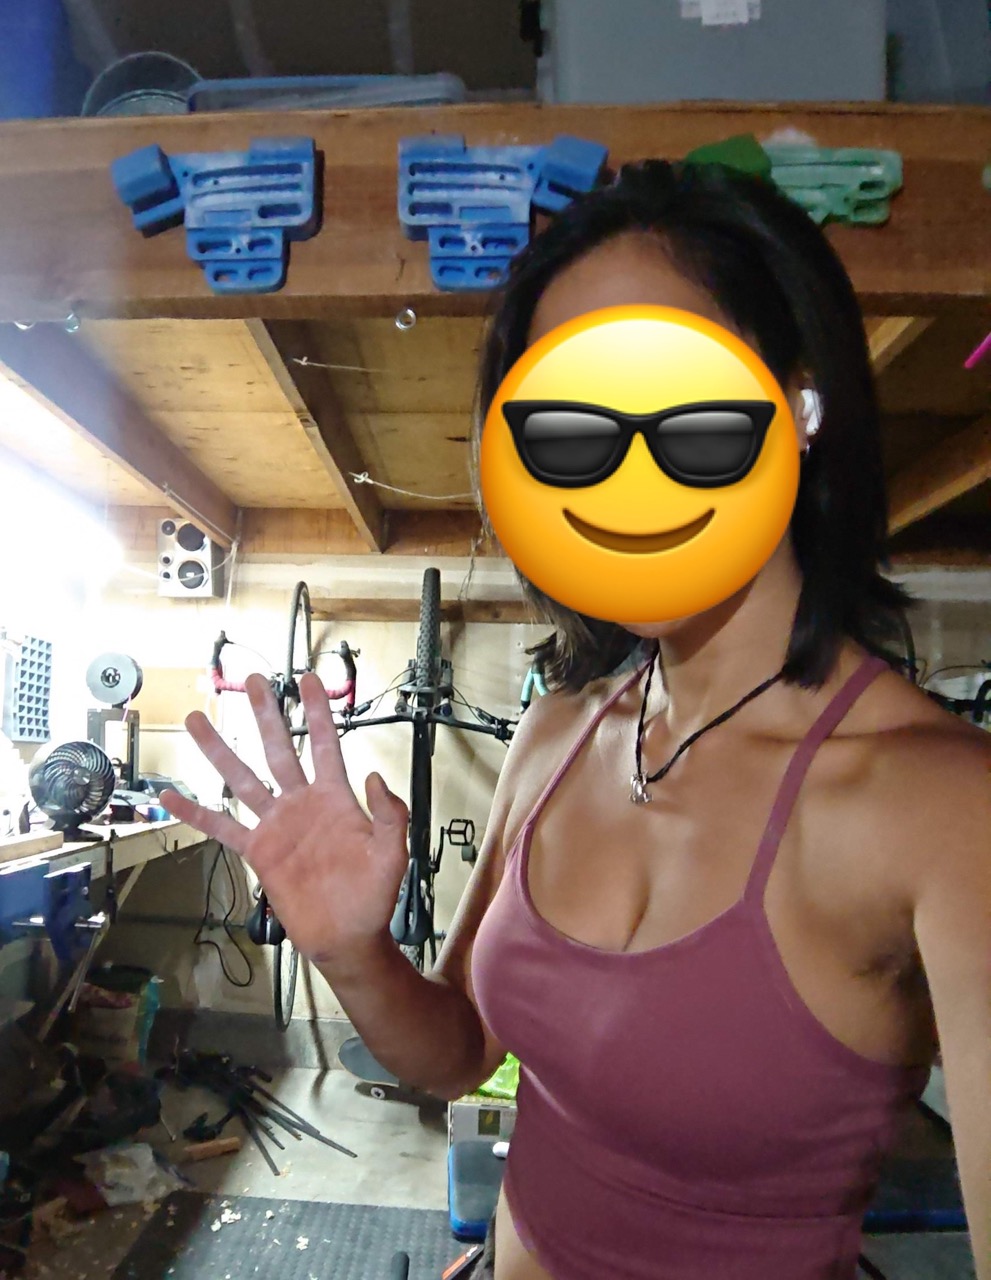
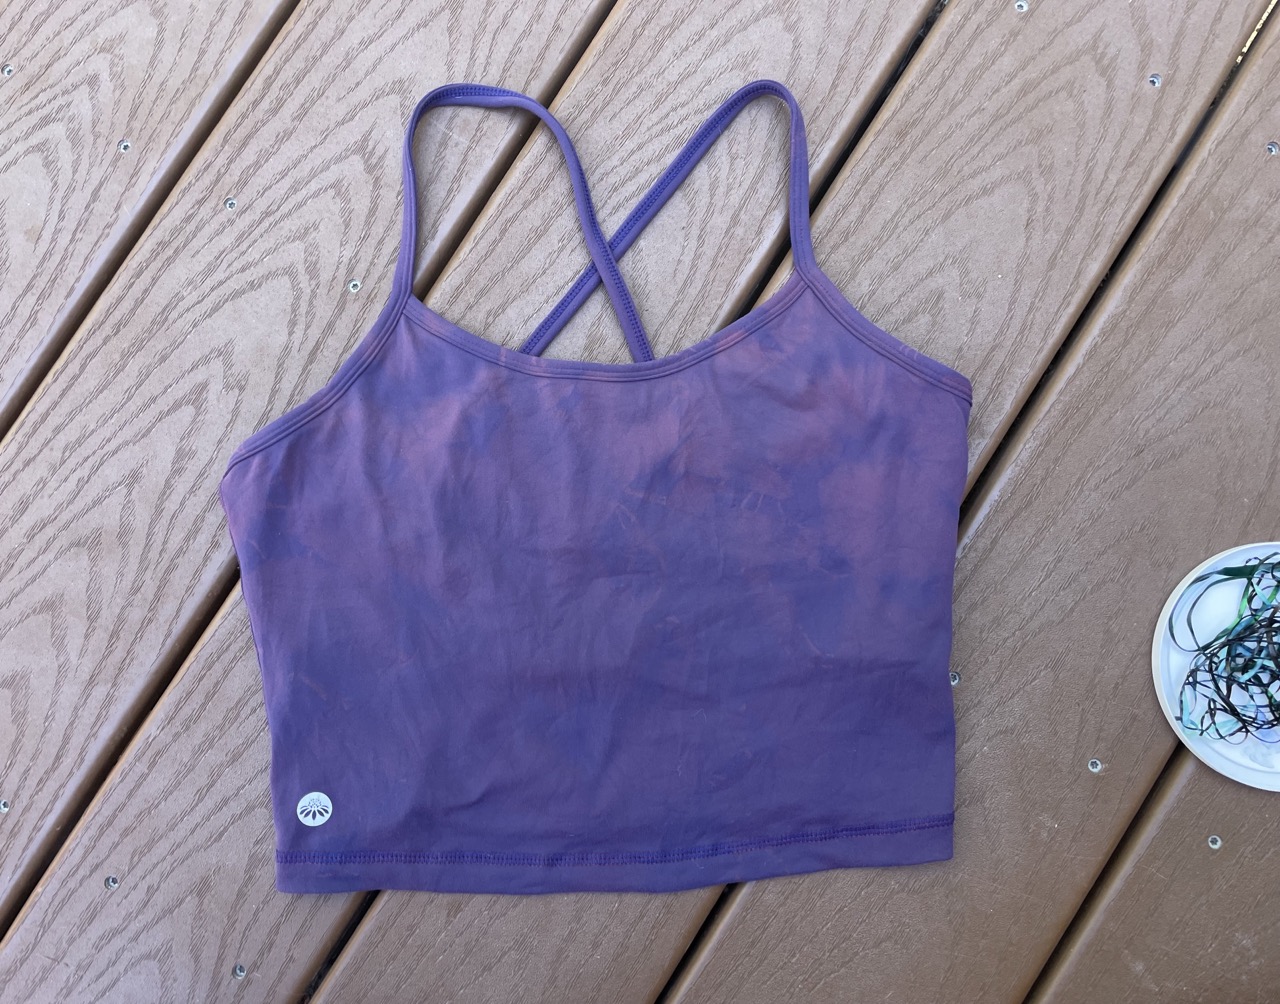
>Dying a nylon crop top
The patient is a mauve-pink crop top. I like the built-in bra and thin straps, but I felt like the colour clashed with my skin tone and wanted more purple.
>The nylon process
The steps were similar to the polyster shirt, I will note only the differences:
-
Prepare the shirt
- I rubber banded less aggressively this time, after the learnings from the previous shirt.
-
Prepare the dye
-
Boil. Nylon supposedly dyes faster than polyester. I wanted to try some experiments this time.
- 3a. Dip-dye experiment: I tried to do a slow-mo dip dye by raising the fabric higher every couple of minutes. This didn’t really work, you could barely see the gradient. Maybe I didn’t use enough dye? Or should have gone even slower?
-
Rinse
-
This shirt retained a strong chemical smell after multiple rinses. This caught me off-guard because the polyester sun shirt held no dye smell at all.
-
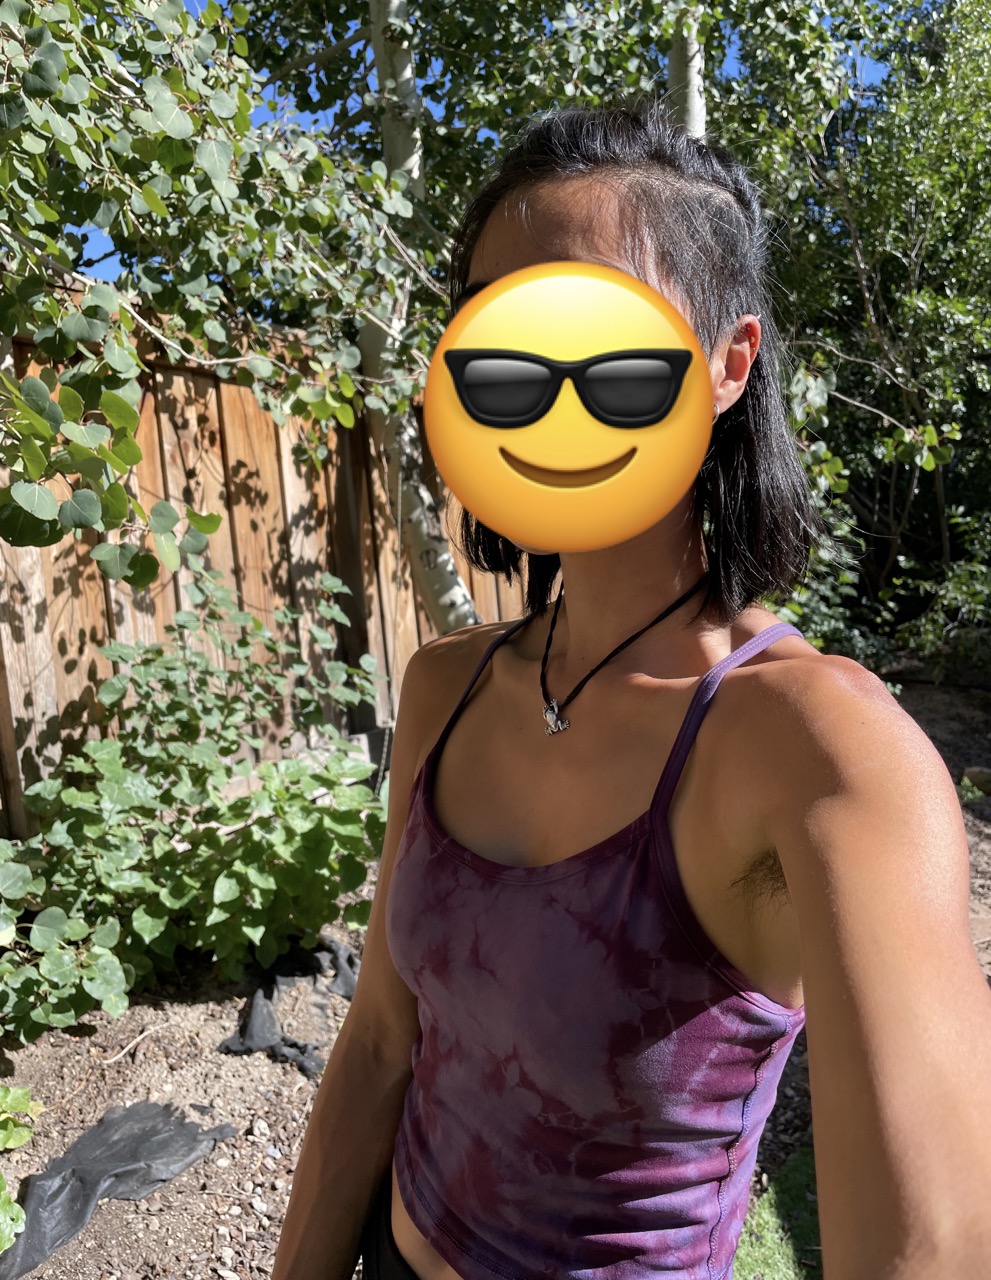
4a. Double tie-dye experiment: I rubber banded the shirt again, added more dye powder to the dye bath to darken it, and tie-dyed a second round for 20 minutes. The idea was to have multiple layers of overlapping tie-dye pattern. This worked out pretty well! The effect would have been even more dramatic if I had dyed the first layer darker.
-
-
Air dry in the sun
-
Remove chemical dye smell: The lingering chemical smell made me worried the dye hadn’t set, so I tossed the shirt into the washing machine by itself and ran a cycle on cold water. That reduced the smell but I could still detect it. I left this shirt hanging on a chair for several weeks until it stopped being smelly, which took way longer than I expected.
>Aftermath
- Disposing the dye
- I had poured the leftover dye bath down the bathtub drain back when I had dyed the keycaps, but there was so much more liquid this time. I ended up transferring the dye to a sacrificial plastic yogurt container and setting it outside to evaporate back into powder form, then tossing the power into the trash. Probably unnecessarily paranoid.
- Is it machine wash safe? Will it leach colour into my other clothes
- If you used a craft dye that’s meant for clothing, probably not? but I don’t know. (I don’t wash my outdoor clothes often). I may have machine washed the polyster shirt with other stuff on one occassion with no issues.
- Will you do it again?
- Not if I can avoid it. I definitely wouldn’t go about purchasing clothing with the goal to dye it. The polyester de-wrinkling was a nightmare, whereas the nylon smell was awful. It could have been bad luck with those specific items rather than the entire class of fabric, but I just don’t know.
Cumbersome process notwithstanding, I’m happy with the results of these two items and they’ve returned into the rotation!
Comments
Take me to comment town
The bullet train to comment town is paused due to defeat by spam. Send an email (comments @ this domain) to comment.